Golf cart turn signal kits: add-on signals, horns and brake lights
Your cart already has headlights and taillights, and the town wants signals, a brake light and a horn before it goes on the street. An add-on kit does that in an afternoon without redoing the wiring you have.
We pick from published specs, maker instructions and what owners report. We may earn a commission from links on this page; it never changes what we recommend. How we choose
Key takeaways
- On a cart that already has lights, a universal column-switch kit adds signals and a brake switch for about $45 to $95.
- If you have a RHOX, Madjax or Buggies Unlimited basic kit, its $100 to $200 upgrade plugs straight in.
- Use an electronic flasher with LED lamps, because an old thermal flasher stays lit or blinks too fast.
- Feed the kit from your reducer's 12V output and plan on about three hours the first time.
Our picks at a glance
Prices are estimates as of Oct 17, 2026
- 1Best overall add-on kitUniversal column-mount turn signal kit with horn buttonAny cart with a 12V supply and a steering column of about 1 to 1.25 inches; clamps to Club Car, EZGO and Yamaha columnsabout$45–$95
- 2For carts with a RHOX, Madjax or Buggies Unlimited light kitDeluxe upgrade kit (turn signals, horn, brake-light switch)Model-specific; made to add onto that brand's basic kit for Club Car DS and Precedent, EZGO TXT and RXV, Yamaha Drive and Drive2about$100–$200
- 3Best LED strip kitUniversal LED turn signal and brake light barsAny cart with a flat edge on the rear body or roof to stick or screw a strip; works alongside or instead of taillightsabout$30–$80
- 4Dash switch alternativeDash-mount turn signal switch kitAny cart with a dash blank or a flat panel; no column clampabout$35–$70
- 5The horn12V golf cart horn with button or relayAny cart with a 12V supply; mounts on the front frame or behind the cowlabout$15–$40
The picks in detail
1.Universal column-mount turn signal kit with horn button
Column switch with horn button, LED-compatible flasher, four amber LED signal lamps, brake-light switch, harness, 12V
Fits: Any cart with a 12V supply and a steering column of about 1 to 1.25 inches; clamps to Club Car, EZGO and Yamaha columns
At Amazon. We may earn a commission.
Pros
- Switch sits where your hand already is
- Electronic flasher suits LED lamps
- Brake switch in the box
Cons
- Horn itself sold separately
- Thicker Yamaha columns may need a shim
Why we picked it
This is the kit most owners want: a switch on the column where your hand already is, a horn button in the end of it, and four small amber lamps that mount with two screws each. The flasher is the electronic type, so it blinks at the right rate with LED lamps. The brake switch is a plunger that mounts behind the pedal. Everything a basic light kit lacks for a street conversion is in the box except the horn itself.
Before you buy: Measure the column before you buy; some Yamaha columns are larger and need the clamp shimmed or swapped.
2.Deluxe upgrade kit (turn signals, horn, brake-light switch)
Signal lamps matched to the brand's headlight bezels, flasher, column switch, horn, brake switch, harness plugs
Fits: Model-specific; made to add onto that brand's basic kit for Club Car DS and Precedent, EZGO TXT and RXV, Yamaha Drive and Drive2
At Buggies Unlimited. We may earn a commission.
Pros
- Plugs into your basic kit's capped connectors
- Signal lamps match the headlight bezels
- Saves most of the splicing
Cons
- Costs more than a universal kit
- Only fits the same brand's basic kit
Why we picked it
If your cart already wears a basic kit from one of the big three brands, their own upgrade kit plugs into the connectors that kit left capped. The signal lamps match the bezels, the harness lengths are right for your model, and the brake switch bracket fits the pedal. It costs more than a universal kit and saves most of the splicing.
Before you buy: Buy the upgrade from the same brand as your basic kit; the plugs are not shared between brands.
3.Universal LED turn signal and brake light bars
Two or four LED strips with running, brake and sequential turn functions, flasher, switch, 12V
Fits: Any cart with a flat edge on the rear body or roof to stick or screw a strip; works alongside or instead of taillights
At Amazon. We may earn a commission.
Pros
- Bright, wide signal a driver will see
- Running, brake and turn in one housing
- Cheap route to a legal rear lamp set
Cons
- Adhesive backing fails under a pressure washer
Why we picked it
LED strips put a bright, wide signal where a car behind you will see it, which matters more on a cart that sits low. The strips carry a running light, a brighter brake light and a sweeping amber turn in one housing, so you can replace tired taillights and add signals at once. They are the cheap way to a legal rear lamp set on a work cart or an older DS.
Before you buy: Adhesive-backed strips do not survive a pressure washer; use the screw holes.
4.Dash-mount turn signal switch kit
Rocker or toggle switch with indicator light, flasher, four LED signal lamps, harness, 12V
Fits: Any cart with a dash blank or a flat panel; no column clamp
At Amazon. We may earn a commission.
Pros
- Keeps the steering column clear
- Indicator light shows the signal is on
- Suits tilt columns and aftermarket wheels
Cons
- No self-cancel, so it stays on
Why we picked it
Some owners do not want a lever on the column, and on a cart with a tilt column or an aftermarket steering wheel the clamp can be in the way. A dash switch sits in a blank and does the same job. The indicator light tells you it is on, which a column switch on a cart does not always do.
Before you buy: You will forget to cancel it. There is no self-cancel on a cart switch, dash or column.
5.12V golf cart horn with button or relay
12V disc horn, about 100 to 110 dB, with a push button or a relay for a column-switch button
Fits: Any cart with a 12V supply; mounts on the front frame or behind the cowl
At Amazon. We may earn a commission.
Pros
- Cheapest item on the street-legal list
- Mounts on one bolt behind the cowl
Cons
- Low-current switch buttons need a relay
Why we picked it
The federal LSV rule does not require a horn, but many town ordinances do, and it is the cheapest item on the list. A disc horn mounts on one bolt behind the cowl and wires to the horn button in your column switch or to a button on the dash. Buy one with a relay if the column-switch button is rated for low current.
Before you buy: Point the opening down so water drains out of it.
If your cart already has headlights and taillights, a golf cart turn signal kit is the cheapest step toward the street: about 45 to 95 dollars for a universal column-switch kit, or 100 to 200 for the upgrade kit that matches a RHOX, Madjax or Buggies Unlimited basic light kit. Either one adds the four amber lamps, the flasher, the switch and the brake-light switch that most ordinances and the federal LSV rule want.
Signals are one step in the lights and street-legal section. If your cart has no lights at all, start with the light kit guide and buy a deluxe kit; it includes everything on this page. If you are working down the full checklist, the street-legal guide is the list.
What a turn signal kit has to include
Four lamps, two front and two rear, in amber. A flasher relay to make them blink. A switch to pick left or right. A brake-light switch at the pedal, because most basic light kits have taillights but nothing that gets brighter when you stop. A harness to join it all, and a fuse.
Most kits throw in a horn button, and some include the horn. Check the box contents before you compare prices, because a 40 dollar kit with no brake switch and a 70 dollar kit with one are not the same product.
The lamps run on 12V, like everything else in a light kit. On a gas cart that is the starter battery. On an electric cart it is the voltage reducer your light kit should already be running from. If your lights are tapped off two batteries in the pack, this is the moment to fix that; the light kit guide explains the reducer.
Flasher relay: get the electronic one
A flasher is the part that clicks. Old-style thermal flashers rely on the current through a filament bulb to heat a strip and open the contacts. LED lamps draw a tenth of that, so a thermal flasher either never clicks or clicks too fast. Every kit on this page ships an electronic flasher, often called a no-load or LED flasher, which blinks at the same rate whatever the lamps draw.
If you are reusing lamps from an older halogen kit, the electronic flasher still works. If you are buying a flasher on its own, two-prong and three-prong versions exist; match the one your switch harness expects.
Column switch or dash switch
A column switch is a lever clamped to the steering column with a horn button on the end. It is where a driver’s hand expects a signal to be, and it is what every deluxe light kit uses. The clamp fits a round column of about 1 to 1.25 inches, which covers Club Car and EZGO; some Yamaha columns are fatter and need the shim that better kits include.
A dash switch is a rocker or toggle in a dash blank, usually with an indicator light. It avoids the column altogether, which helps on a cart with an aftermarket wheel or a tilt column, and the indicator reminds you the signal is on. Neither type self-cancels after a turn the way a car switch does. You will leave it on, and the indicator is the only thing that will tell you.
Brake-light switch
Nearly every golf cart has mechanical brakes: a cable from the pedal to drums on the rear axle. The brake-light switch for a mechanical system is a plunger switch on a bracket behind the pedal arm. Pedal at rest holds the plunger in; pedal moves, plunger extends, contacts close, brake lamp lights. Adjusting it is a matter of bending the bracket or threading the switch body until the lamp comes on in the first inch of travel.
A few carts, and most LSV conversions with hydraulic disc brakes, can use a pressure switch threaded into the brake line instead. It is cleaner but it is a brake-line job, and if you are not comfortable bleeding brakes, the plunger does the same thing.
The brake output goes to the brake filament of a dual-filament taillight, or to a separate brake lamp if your taillights are single function. LED strip kits combine running and brake in one housing.
Wiring colors and the 12V feed
There is no industry standard for golf cart accessory wiring, so the wiring diagram in the box is the authority. The usual pattern is red for 12V positive, black for ground, and two signal outputs in green and yellow or brown, one per side. The brake switch has two wires of its own, one from 12V and one to the brake lamps. The flasher sits between the 12V feed and the switch.
Feed the kit from the same fused 12V point your light kit uses, which should be the reducer’s output on an electric cart. Add the kit’s inline fuse even if the reducer has its own. Ground to the frame with a ring terminal on a clean bolt, not to a body screw into plastic.
Which kit for your cart
| Cart | If you have a brand basic kit | If you have a universal or unknown kit |
|---|---|---|
| Club Car DS, Precedent | That brand’s deluxe upgrade kit | Universal column-switch kit |
| EZGO TXT, RXV | That brand’s deluxe upgrade kit | Universal column-switch kit |
| Yamaha Drive, Drive2 | That brand’s deluxe upgrade kit | Universal kit; check column diameter |
| Work cart or older DS with tired taillights | LED strip kit | LED strip kit |
Model details, including where the serial plate is and which body year you have, are on the fitment pages for Club Car, EZGO and Yamaha.
Install: an afternoon
Disconnect the pack or pull the main fuse. Mount the front signal lamps on the cowl beside or below the headlights, and the rear lamps on the rear body beside the taillights, two screws each. Clamp the column switch about a hand’s width below the wheel, or fit the dash switch in a blank. Mount the brake switch behind the pedal and adjust it so the lamp lights early in the travel.
Run the harness along the frame rail with the light kit harness, tie it every foot, and keep it clear of the brake cable and the accelerator linkage. Connect the flasher, the switch, the lamps and the brake switch per the kit’s diagram, then the fused 12V feed and ground. Reconnect the pack and check left, right, brake and horn before you put anything back together. Plan on three hours the first time.
What is left after signals
Mirrors and seat belts, usually. The mirror guide covers what the rules generally want and which clamps fit which struts, the seat belt page covers belts and brackets, and the LSV explainer is for owners deciding whether to go all the way to a titled vehicle.
Questions owners ask
Do I need a special flasher for LED turn signals?
Yes. The old thermal flasher relays from cars need a bulb's worth of current to click, and LED lamps draw too little, so the signals either stay lit or flicker fast. Buy a kit with an electronic flasher, or buy a no-load electronic flasher on its own for about 8 to 15 dollars.
Can I add turn signals to a cart with a basic light kit?
That is exactly what these kits are for. The signal lamps are separate from your headlights and taillights, so you mount four amber lamps, run the harness to the switch and flasher, and tap the same 12V feed your light kit uses. If you have a RHOX, Madjax or Buggies Unlimited basic kit, their upgrade kit plugs into the capped connectors.
How does the brake light work on a golf cart?
A switch at the brake pedal. Most carts have mechanical brakes, so the kit gives you a plunger switch that mounts to a bracket behind the pedal and closes when the pedal moves. The switch feeds the brake filament in your taillights or a separate brake lamp. Carts with hydraulic brakes can use a pressure switch in the line instead.
What do the wire colors mean?
There is no standard across kits, so the instructions in the box win. The common pattern is red for 12V positive, black for ground, and two other colors, often green and yellow or brown, for the left and right signal outputs, with a separate wire for the brake switch. Label them as you go.
Do turn signals make my cart street legal?
They are one item on a list. Where a town allows carts on the street, the list usually includes headlights, taillights, brake lights, turn signals, mirrors, reflectors and sometimes a horn and seat belts. The street-legal guide walks through the whole list.
Not sure it fits your cart?
Pick your make, model and year. We'll tell you the voltage and which parts fit.
Keep reading
All lights & street-legal guides
Best golf cart light kits: LED kits by make, with prices
A light kit is the first thing most carts get once they leave the course, and the right one bolts into the holes the factory already stamped in the cowl. These are the kits by make, plus the one part the listings tend to forget.
Best picks · 8 picksUpdated Nov 5, 2026
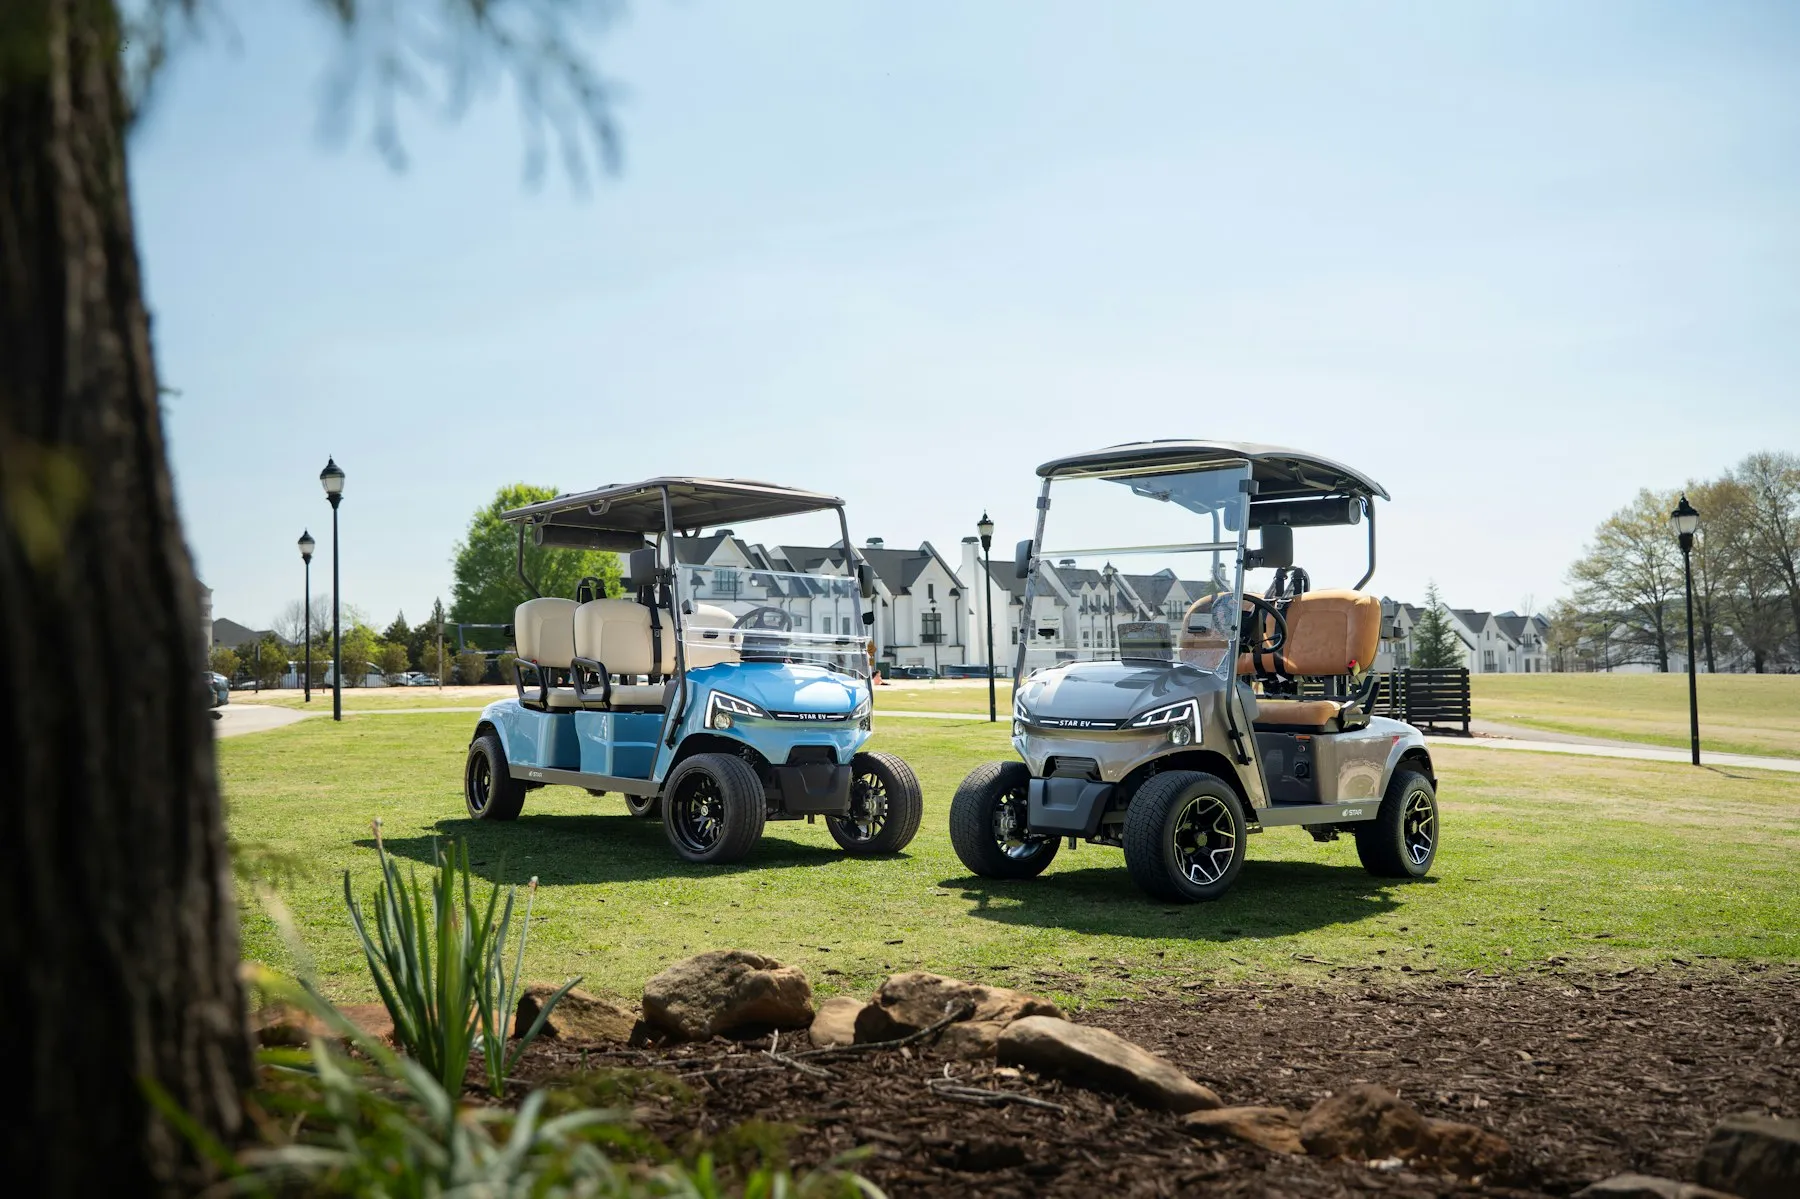
How to make a golf cart street legal: the equipment list and costs
In most of the US a golf cart becomes street legal one of two ways: your city or county passes an ordinance allowing carts on certain local roads with a short equipment list (usually lights, mirrors, a horn and reflectors), or the cart is built or converted to the federal low-speed vehicle standard (20 to 25 mph, 17-digit VIN, lights, signals, mirrors, seat belts, windshield, parking brake, reflectors) and titled and registered through the state. Check your local ordinance and state DMV before buying parts, because the list and the process are set there.
GuideUpdated Nov 5, 2026
Best golf cart street legal kits for Club Car, EZGO and Yamaha
A street legal kit is the lights, signals, brake switch and horn in one box, made for your body style. It covers the lighting line of almost any ordinance; it does not cover mirrors, belts, reflectors or the title. These are the kits that fit cleanly and what you still need after them.
Best picks · 5 picksUpdated Nov 5, 2026